Preparing the Layout
Contents
- 1 Preparing the Layout
- 2 Setting the First Course of Blocks
- 3 Working Through Winter
- 4 Reaching Halfway
- 5 Reinforcing with Rebar
- 6 Above Windows and Doors
- 7 Finishing the Top Row
- 8 Preparing for Concrete Pour
- 9 Concrete Pour Day
- 10 Reflections and Moving Forward
- 11 Table: Key Stages of the Block Basement Build
We began our cinder block basement build with excitement and determination. After learning the basics of block laying, we returned home ready to put our knowledge into practice.
The first step was laying out the slab. Using string lines and careful measurements, we marked the corners and checked our distances carefully.
- One side measured 40 feet.
- Another side confirmed at 31 feet.
- Crisscross measurements came out perfect at 50 and 51 feet.
With everything accurate and “on the money,” it was time to snap the layout lines and prepare for the first blocks.
Setting the First Course of Blocks
Shortly after finishing the layout, we loaded the first course of blocks. Working as a team, we set up the stringer poles and double-checked their alignment.
Once the poles were in place, we mixed our first batch of grout and laid the first block. It was a milestone moment—the foundation of the entire build.
The first 15 blocks went down straight and solid. It felt good to see our progress, and we were proud of the start we had made.
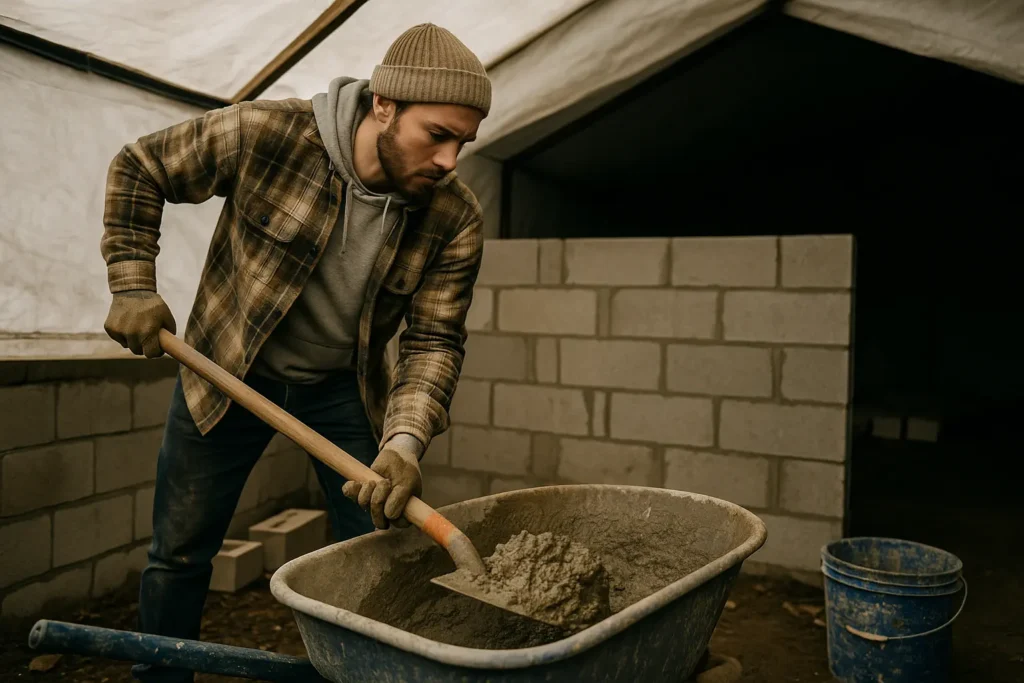
Working Through Winter
To keep moving forward despite cold weather, we built a small shelter to protect our work area. Each day, we kept a steady rhythm of mixing grout, setting blocks, and checking alignment.
With every row, the walls began to take shape. By the time we reached the window rows, we could finally see the structure forming, which was both motivating and rewarding.
Reaching Halfway
Progress wasn’t always easy, but reaching the halfway mark felt like a major accomplishment. Each row we laid made us more confident in our skills and teamwork.
By the eighth row, we managed to complete an entire lap around the foundation in one day. It was the first time we achieved this milestone, and it gave us a real sense of momentum.
Reinforcing with Rebar
Strength and stability were always a priority. To add structural integrity, we bent rebar to fit into the corners and tied it throughout the walls. This reinforcement ensured that the block walls were not only strong vertically but also resistant to lateral pressure.
Above Windows and Doors
When we finally built above the windows and door openings, it felt like a huge relief. The structure was becoming more recognizable as a home. Each block set at this stage carried a sense of achievement and progress.
Finishing the Top Row
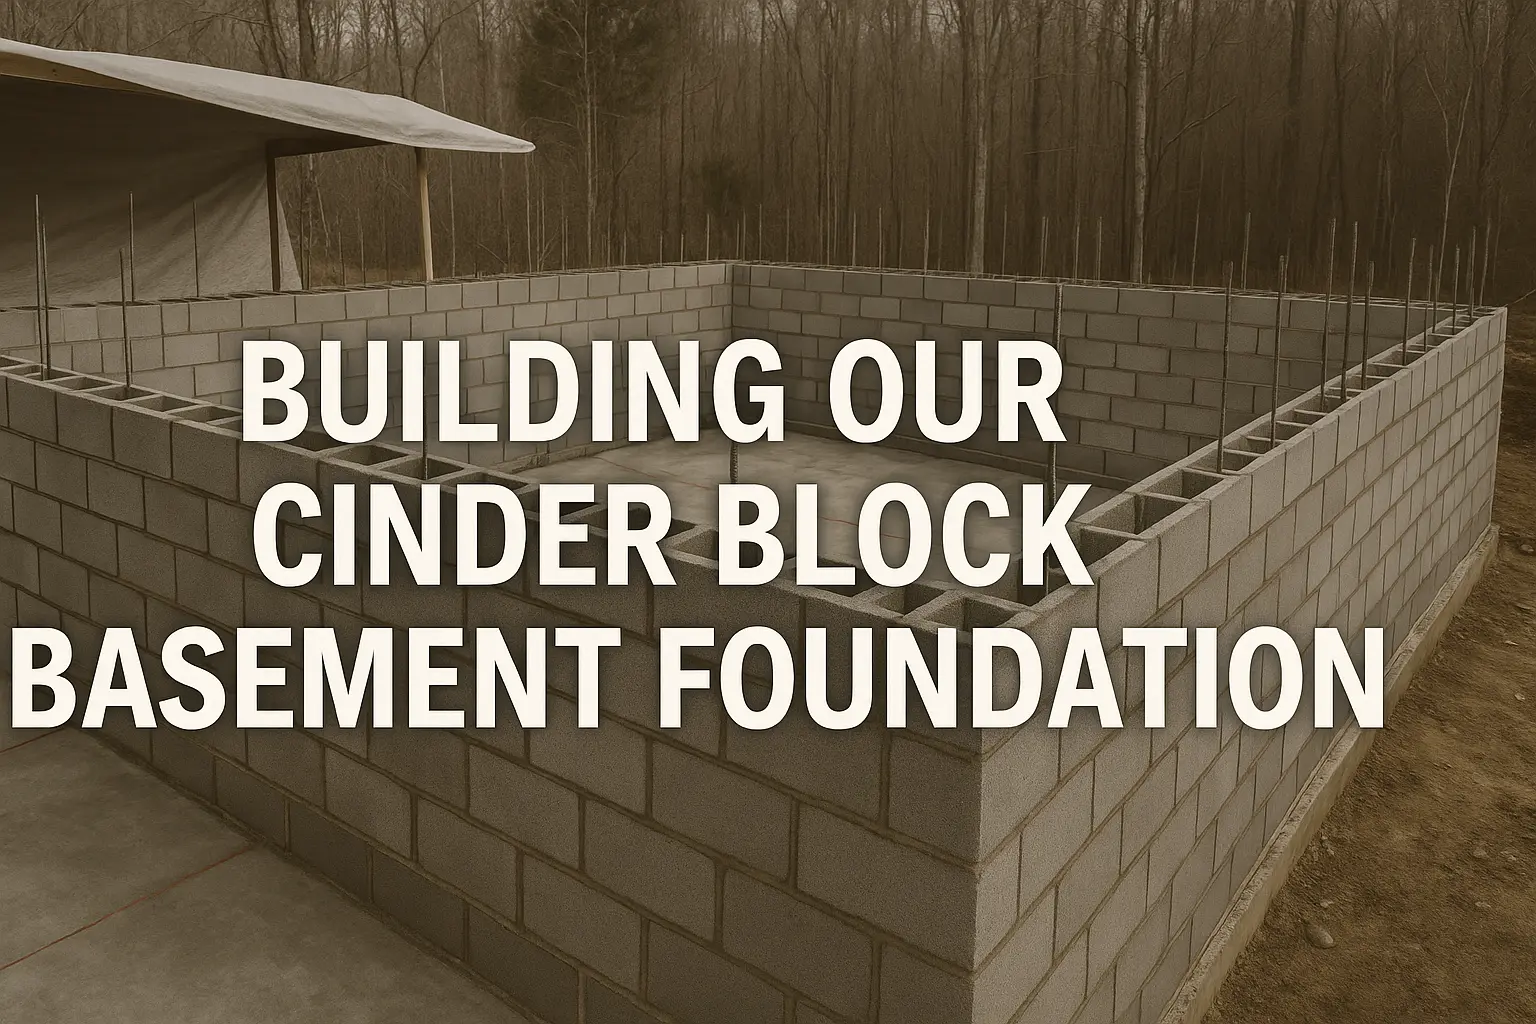
For the last row, we fabricated our own bond beam blocks. Every fourth cell received a vertical rebar running from the slab all the way up. Additional rebar was placed horizontally, tying the top together for maximum strength.
Looking across the walls, the rebar could be seen standing tall, ready to be tied in as part of the final pour.
Preparing for Concrete Pour
Instead of core-filling the walls by hand with buckets, we decided to bring in professional help. A nearby company had the right tools and equipment to make the process smoother and more efficient.
As the hose was positioned, we braced ourselves for the messy but exciting concrete pour.
Concrete Pour Day
When the concrete started flowing, it was a challenge to keep the hose steady and guide it into the block cells. It was strenuous work, twisting and holding the heavy hose, but we adapted quickly.
Every cavity and bond beam was filled, locking the structure together with reinforced concrete. By the end of the day, the walls stood strong and complete.
Reflections and Moving Forward
Looking back, it’s hard to believe how far we came—from snapping the first layout lines to pouring the final row.
Each step carried its own challenges, but also its own sense of pride. The teamwork, the persistence through cold days, and the steady progress gave us a foundation that was both physically solid and emotionally rewarding.
This cinder block basement is more than just concrete and mortar. It’s the base of our future home, built with our own hands, patience, and determination.
Table: Key Stages of the Block Basement Build
| Stage | Description |
|---|---|
| Layout & Measurement | Marked corners, snapped layout lines |
| First Blocks | Set stringer poles, laid first 15 blocks |
| Working in Winter | Built a shelter, continued blockwork |
| Halfway Milestone | Completed 8 rows, first full lap in one day |
| Structural Rebar | Vertical and horizontal reinforcement |
| Above Windows & Doors | Openings completed, walls rising |
| Bond Beam Blocks | Fabricated top row with rebar integration |
| Concrete Pour | Professional pour to fill cells and beams |
| Final Reflection | Foundation complete, strong and ready |